Wednesday, August 31, 2011

Tree Card

Bitten by the Bug 2 is having their Heritage Curly Tree and Blog Hop. You need to make a project using the tree specified on the Heritage cart. Now if you don't have the Heritage cart you can use any tree. I used the tree from Pooh and Friends.


I used the blackout feature to cut my tree. My card base is cut from Wild Card and I used icicle glimmer glaze on the eyes and mouth of the pumpkin to give it a "glow".

I'll also be linking up at More Than Favors and My Craft Spot.

Beautiful Skeleton

Could you use a good laugh? Then you'll want to head over to Shopping Our Stash and check out all the sassy, snarky and laugh out loud fun created for challenge 15.


I'm so excited for fall because it means Halloween is coming and I can finally use my Mini Monsters cartridge!


For my project I used the card feature and fit to page to cut out my skeleton. I went over the writing multiple time to try and make it look like the monster wrote it himself.


The outside reads You're Beautiful! and the inside says On the inside!

I'll also be linking this card up at Cricut Cardz Challenge. Challenge 90 is Card Crazy. Use the card feature on any cart to make a card for any occasion.

Little Artist

For sketch #53 at Sketches in Thyme I started by finding a vertical picture I wanted to use. When I came to this photo of my daughter painting I new right away what I was going to do. The background paper is one of the first paintings my little girl every did. I figured I could keep it in a box somewhere or I could cut it, put it in a scrapbook and actually look at it.


I used Jubilee to cut the title. All other paper is from my stash.

Disney Favorites

I love the sketch this week at Sketchy Thursdays. I had a number of ideas for what I wanted to create. What I've ended up with is not one of them but when I saw Heather's take on the sketch I was drawn in a different direction.


Everything is from Disney except the light blue which is Archiver's and cut with Mickey Font.

Cousins

My layout using Creative Scrappers sketch #171 came together faster than any layout I've ever created. AND I'm happy with it! My original intention was to cut down the layered pieces of paper but when I tossed them on the page to see if I liked the color combination I liked where they fell!


Background: Deja Views Color POP line Flower Power
Layered Pieces: Archiver's free 6x6 paper pack from years ago

Tuesday, August 30, 2011

Clean and Simple Card

Happy Tuesday everyone. I hope you're having a better day than me. I woke up sick this morning. :( But I'm feeling better now. Well enough to create at least. So here is a card I came up with.


The blue patterned paper is Recollections and the brown is Bazzill. The brown rub-on is Bo-Bunny and the white one I found floating around in a drawer. I used the Bloom Lite cart to cut the flower. The center is colored with chalk and the brad is from Oriental Traders.

I'll be linking this project here:
Celebrate the Occasion Challenge 28 is a sketch challenge. I used the rub-on instead of ribbon.
Cricut 360 Challenge 9 is Relax. Being still, at peace and free sounds very relaxing to me.
CAS-uals Fridays Challenge 17 is Stuck on You. I used rub-ons in place of stickers.
Whimsical Wednesday Inspiring Words I choose the word peace.

Sunday, August 28, 2011

Chef Mickey's

Creative Scrappers sketch #168 had me thinking of our dinner at Chef Mickey's as soon as I saw it.


The Mickey silhouettes, letters and Mickey head came from Mickey Font cart. The chef hat is from Pooh and Friends. The background paper is Disney (purchased at Disney World). The dots and checks are Recollections. The other papers are from my stash. I used Martha Stewart's Punch Around The Page in Cherish for the vertical border.

Chef Mickey and his friends will also be entered at Shopping Our Stash in their red (my category) or roses or ribbon challenge.

Pumpkin Card

For this card I combined challenges from Celebrate The Occasion and Whimsical Wednesdays. The challenge at CTO was to create a round card. Over at Whimsical Wednesdays the challenge was to use 3 colors, 3 cuts and 3 embellishments.


I used Mini Monsters for my three cuts (pumpkin, message, candy). My three colors are orange, green and black. The three embellishments are gems on the candy.


The paper is DCWV Brights and Recollections.

Frozen Waterfalls

For Sketches in Thyme's open challenge this month I used sketch #3 from Sketch Support.


I used the Stella and Roses line by My Minds Eye for the patterned paper. The solid paper is by Bazzill.

Tumble Bugs


For the Fantabulous Cricut birthday bash challenge I started working on my daughter's birthday party. I made and invitation and centerpiece. My designs happen to also meet Getting Cricky's challenge of winged things. Click the photos below for more information.


What I used:
White card stock
TPC Studio Woodland Whimsy collect: little bird clouds, green leaves, mini dot
Bazzill Bling: sparkle, blank check, in the pink, petty cash
4 Square thick pop dots
3 Round pop dots
2 pennys
glue dots
Chip board
Pooh and Friends cartridge
Sugar and Spice cartridge

Tumble Bugs - Centerpiece

I decided to do a simple but fun and high impact centerpiece for Kaitlyn's party.


I used Pooh and Friends and Sugar and Spice to cut the images.


The caterpillar is cut at 4 inches. All the others are cut at 6 inches.

I used Bazzill Bling paper for everything.
In The Pink
Petty Cash
Blank Check
Sparkle

Be sure to stop by Decorate to Celebrate. Their theme this week is wedding, engagement or bridal shower, but you can link any new party projects.

Tumble Bugs - Invitation

My daughter's birthday isn't until October, but I've designed her invitations already. We'll be having her party at the local gymnastics facility so I came up with the theme of  Tumble Bugs. To carry the theme into her invitations I made spinner cards.


The little bug spins down the track as you tip the card from side to side.


The inside reads
Come and "bee" a tumble bug with me!

White card stock base
TPC Studio Woodland Whimsy collect: little bird clouds, green leaves, mini dot
Bazzill Bling: sparkle, blank check
4 Square thick pop dots for the track
3 Round pop dots, 2 pennys, glue dots for the bug
Chip board
Pooh and Friends cartridge

Be sure to stop by Decorate to Celebrate. Their theme this week is wedding, engagement or bridal shower, but you can link any new party projects.

Honk! Honk!

For Creative Scrappers sketch #167 I decided to tackle a few more pictures of my little boy.

I've been finding it difficult to create layouts for him because every time I venture to Archiver's I'm drawn to the girly papers. So when I saw the Little Boy paper line by echo park I was excited. I just happen to own the Unity stamp set that matches. So I snatched up Vroom!, Cool Stripe and Road Map. The papers are double sided so I had lots of patterns and colors to work with.


I used my stamp set and black ink on pattern paper for my title. Then I popped it up for some interest.

Saturday, August 27, 2011

Teacher Diorama Card

My daughter starts practice preschool soon and I wanted to make something for her teacher. I came up with this multi-dimensional diorama card.

The blue paper is My Mind's Eye Lime Twist Happy Go Lucky. The ledger and manila papers are from my stash.


The keys are Tim Holtz.


The font is Cricut Classic Font cut at 3/4".

I'll be entering this project into the following challenges:
Frosted Designs Fabulous Friday Challenge - School Papers
Die Cuttin Divas Challenge 29 - For a Special Teacher
Ribbon Carousel  - Back to School
Wee Memories - Challenge 65

Wednesday, August 24, 2011

Dreams Come True

Creative Scrappers sketch this week made me think of glimmer mist sprayed in blobs on a page. But I don't have any, I've never used it and I'm not sure I even like the look of it (that way). So I kept thinking. Then I remembered my dandelion stamps that I picked up at Archiver's when they had their 40% off one day sale (they really need to do that again, soon). So this is what I came up with.


I used acrylic paint to stamp the images. I didn't have the color I wanted so I mixed up my own shade of grey.


I also used the paint on the title along with glimmer glaze. Distressing the paper is a new thing for me and I like the look of it.


The story behind the photo:
My daughter LOVES Belle. We watch Beauty and Beast at least 3 times a week. So when we went to Disney in July I bought her a dress to be like Belle. This was actually her second time meeting the princesses. Watching her meet Cinderella, Belle and Aurora for the first time is my favorite memory from Disney. Unfortunately my camera died just as she was walking up to Aurora (thank goodness for photo pass). The title means a lot too. On our second day at Magic Kingdom Kaitlyn and I were walking together and she turned to me and said, "Mommy, dreams really do come true." I was so touched by that, that it still brings tears to my eyes.

DCWV card stock Brights stack
Recollections Fashionably Chic paper stack
Stampendous Dandelion Wish set
Acrylic paint (black and white)
Dreams Come True cartridge

Tuesday, August 23, 2011

It all started with a mouse . . .

I used this sketch from Sketchy Thursdays to start working on my Disney World album.


It's hard to believe that a month ago I was sitting in sunny Florida enjoying Disney with my family and in-laws from England. It was an amazing trip that every one enjoyed.


I had initally picked out three photos and some pieces of memorabilia to use, but the memorabilia just started falling into place and I liked what I ended up with so I glued it in place!


I think it will be a good introductory page for my album.

Red Bazzill Bling CS
Creative Imaginations Transparency
Creative Imaginations Rub-ons
Yellow Bazzill CS
Black CS
Mickey and Friends Cartridge

Saturday, August 20, 2011

Cake Box

Here is a cute little cake box that I made.


It's a very simple box using two sheets of 12x12 and one of 10x10 scored at 3 inches on all sides. The cluster of three flowers on top of the cake are made using the method I talk about here.


The small flowers cascading down the sides of the cake are cut from the Bloom Lite cart (Flwr9-s) at 3/4" and 1".


All of the flowers are cut from ki Memories Enchanting paper stack. I accented the 1" flowers and the topper flowers with Tattered Angels Glimmer Glaze in Icicle. Then I added some light pink gems I had in my stash.


I'll be linking this project up at:
Fantabulous Cricut challenge #73 Piece of Cake
Getting Cricky's Treat challenge
My Craft Spot challenge #21 Gift Bags/Boxes

Thursday, August 18, 2011

Birthday Easel Card

With my mom's birthday coming up the challenge at Celebrate the Occasion was a timely one. This week CTO is asking us to make birthday cards using the easel fold technique. If you've never made an easel card before check out YouTube. A simple search for "easel card" will yield a plethora of videos to help you out.

I knew I wanted to keep this card simple. My mom's not really a fussy person and I wanted the card to reflect her style.


I used Bazzill Basics Sand for my base and covered the decorated areas of the card with Bazzill Bling Chocolate. I used ki Memories Enchanting paper pack for the mat and used Martha Stewart Punch Around the Page Cherish to create the shape.


For the flower I used more paper from my ki Memories stack and this technique. The only heart shape I could find was on my Doodlecharms cartridge. I cut 6 hearts at 2.25, 5 at 2, 4 at 1.75 and 3 at 1.5. After punching a small hole near the tip of each heart I layered them on a brad from Oriental Trading. Once they were all layered I lifted the tops of the hearts one-by-one up around the brad scrunching it up as I did. When all the hearts were lifted I folded them down quite a bit to create a really open rose.


For the sentiment I used a new-to-me technique that was featured in a recent Archiver's email. Instead of using ink I used acrylic paint in light pink by craft smart. I like the texture it created and it was fun to experiment with (you can expect to see more projects using this technique in the future). The stamp set I used was Dandelion Wish by Stampendous.

Wednesday, August 17, 2011

Link Up Love Party with K Andrew

Are you looking for new sources of inspiration? Do you want to meet some new blogging friends? Then head over to Getting Cricky and take part in Kristal's Link Up the Love Party. This is a great way to find new blogs, share your blog, and encourage the love all over blog land!

This is my first link party and I'm so excited to participate. If you've never taken part in a link party I encourage you to give it a try. It's very easy, Kristal tells you exactly what you need to do.

Part of spreading the love is sharing your gratitude. I'm so grateful for my husband. He supports my crafting 100% and gladly takes our kids so I can have quiet, mommy free time to do what I love.

Now my blog is VERY new (I started it on Friday) so I don't have a lot of projects posted but my favorite project that I've done recently is also the one that made me decide to start this blog.


Bug Jar Card showcases my style perfectly. I like things that are whimsical and simple. It's also a good showcase of what I'm trying to work on (adding detail, texture and depth).

Thanks for stopping by and I encourage you to get involve. These talented people have!


Tuesday, August 16, 2011

You light up my life card

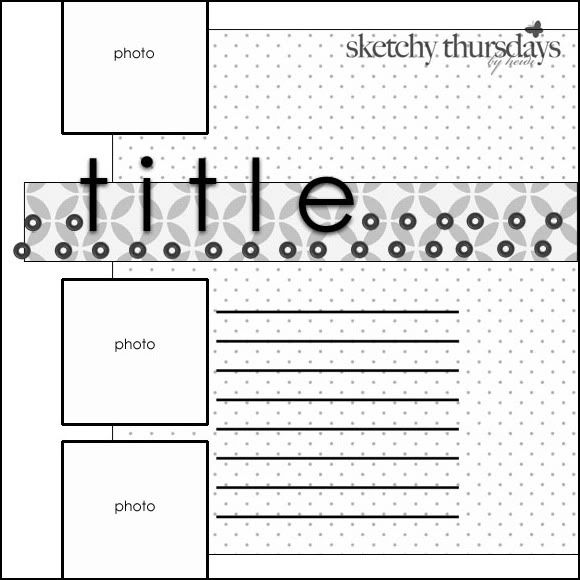
This weeks challenge theme at 
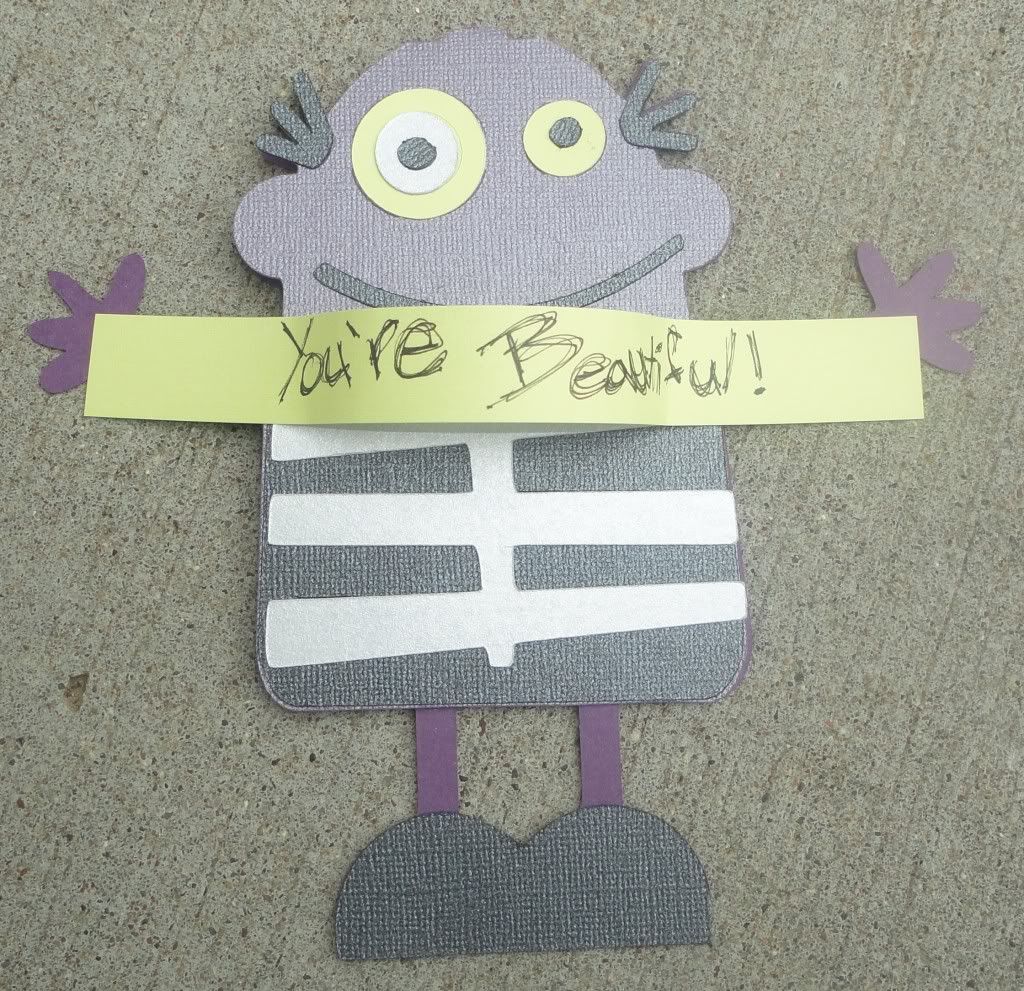
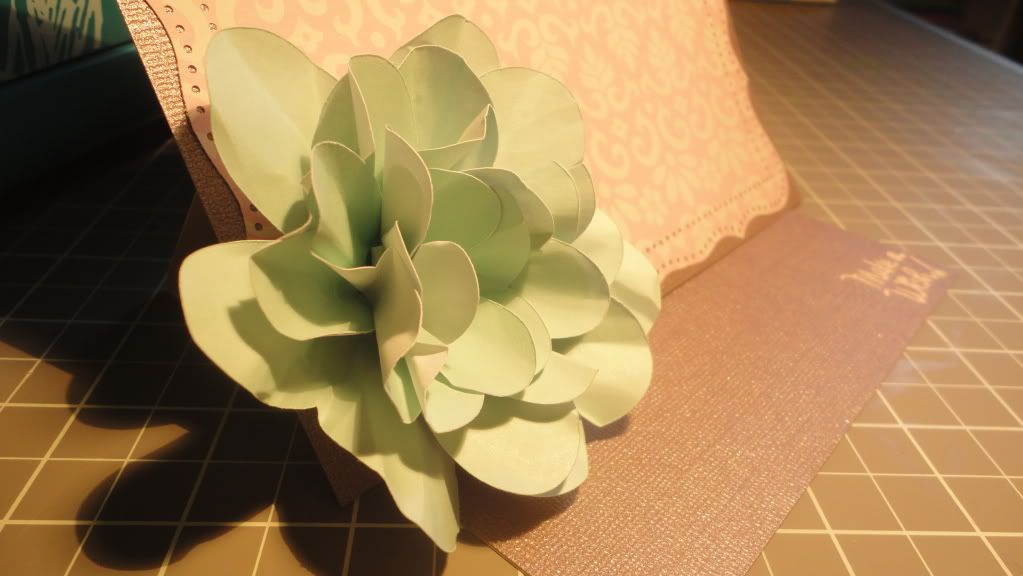
Cooking with Cricut is Smores and I really wasn't sure that I was going to do it. I looked through all of my cartridges and only found one that I could use. That cartridge happened to by Everyday Paper Dolls. I love this cartridge but the accessories cuts are really flat so I decided to challenge myself and see if I could take a simple cut and make it more impressive.


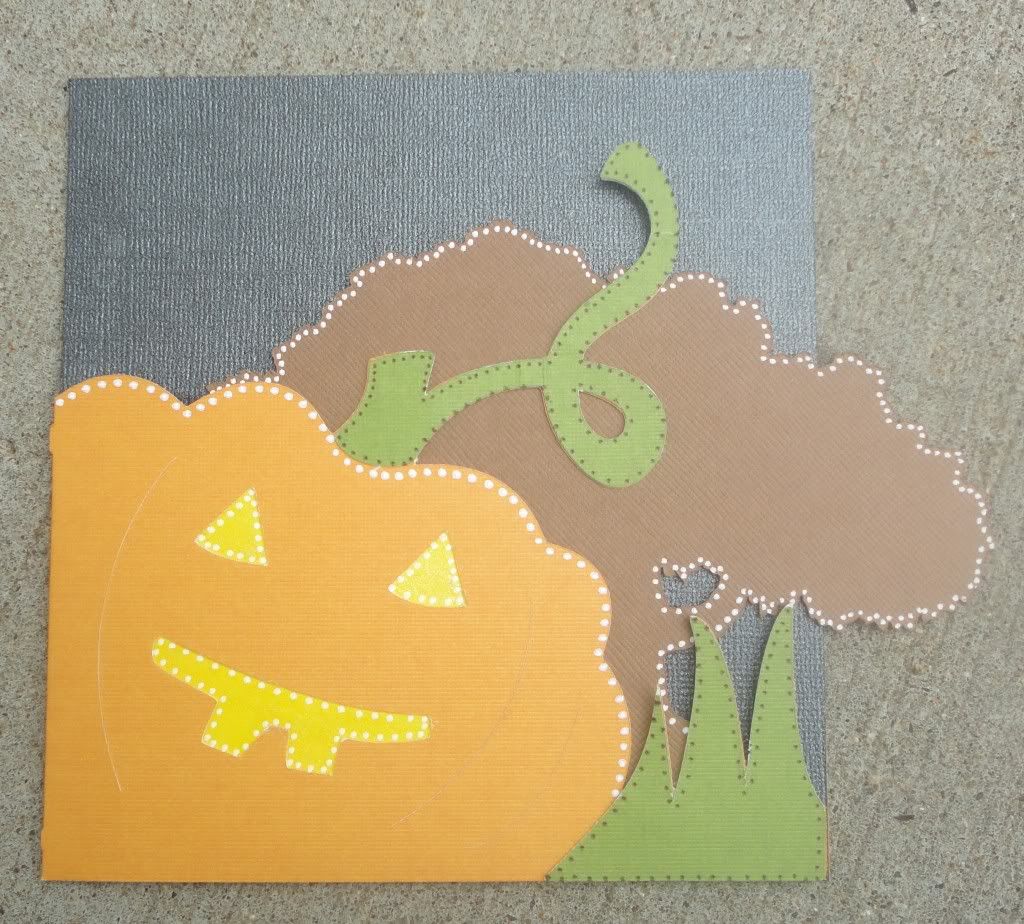
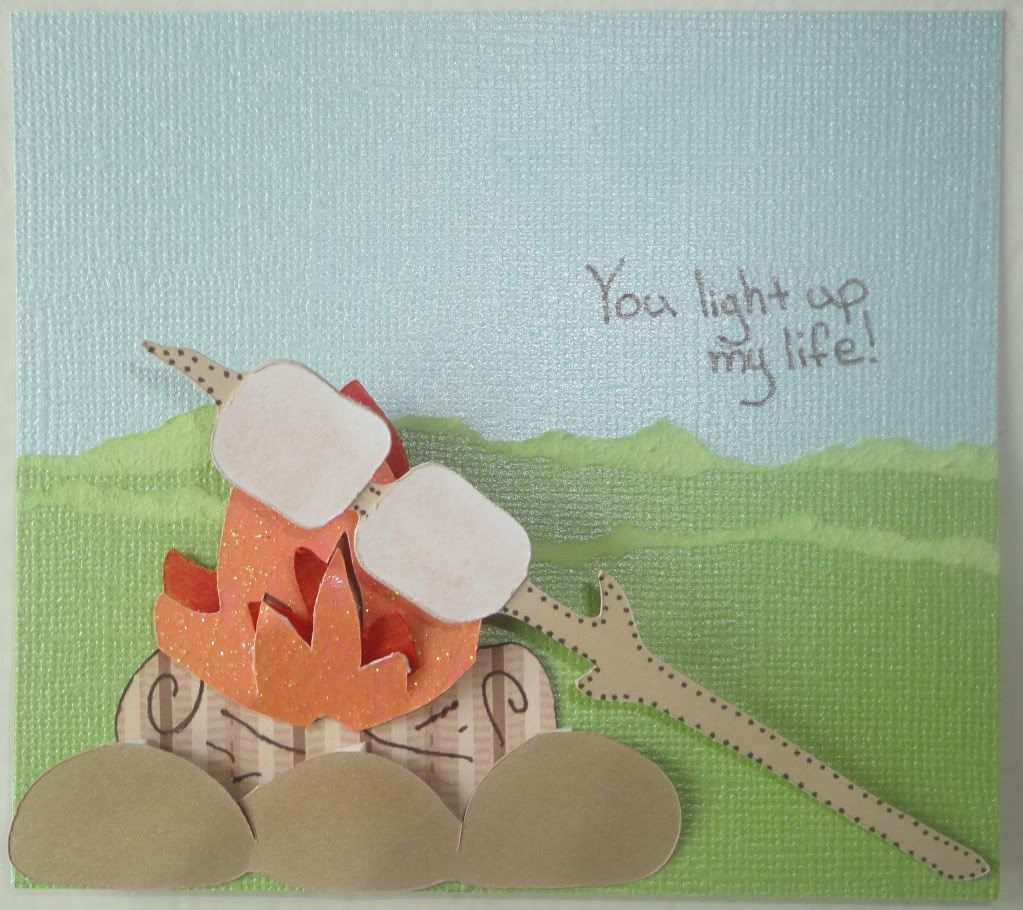
To make the campfire pop I cut it out 4 times, once each on red, gold, sparkly orange and patterned brown. I then cut out them elements of the fire that I wanted from each color. To add more interest I used chalk on the rocks and red fire. I also used my brown pen to highlight the log detail.


I assembled the fire on the gold rocks layer keeping the logs flat on the page. The red outside layer of the fire is also directly on the page. The orange fire was left intact and popped off the page with pop dots. I had cut out the inside layer of the red fire and placed it behind the inside layer of the orange fire after curling the tips of the flames. I decided the rocks needed more dimension so I cut them off and used pop dots only on the tops and glue dots on the bottom.

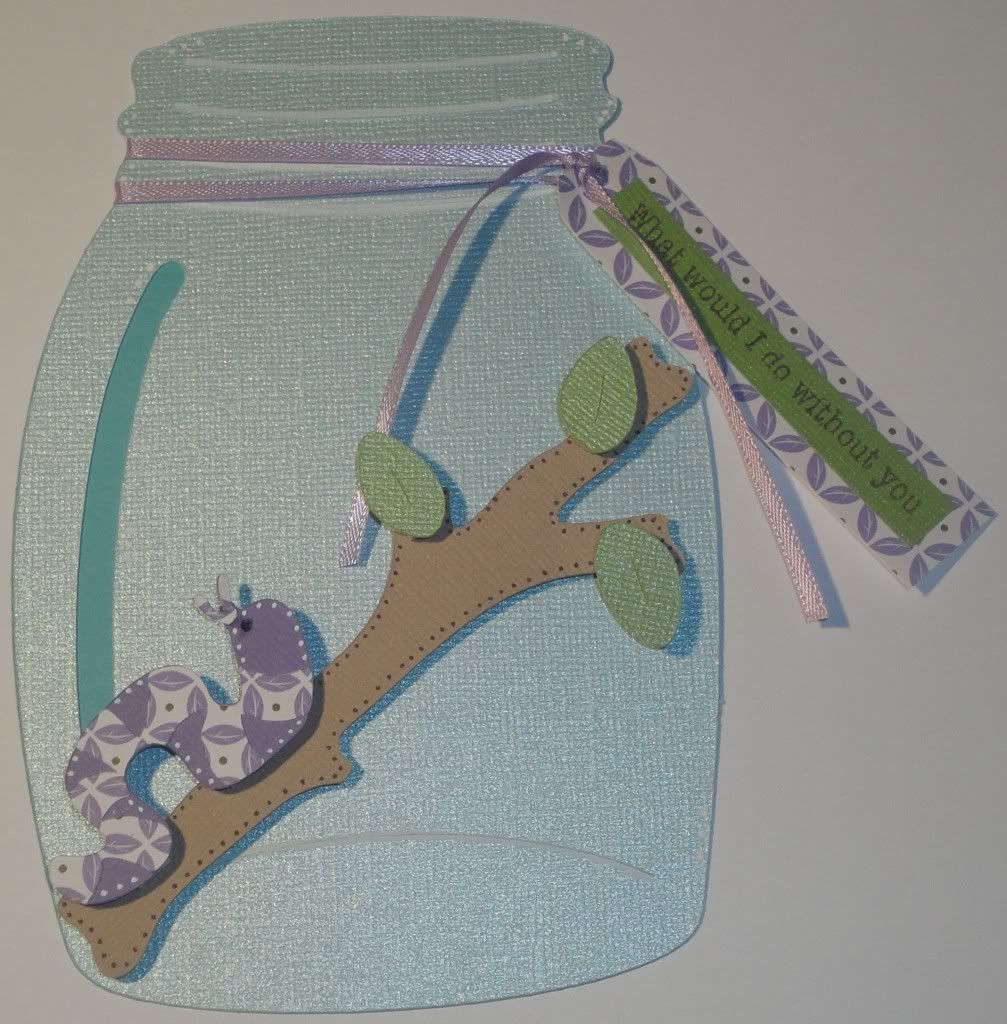
For the stick and marshmallows I simply cut the image out, used light brown chalk to give the marshmallows a toasted effect, doodled on the stick and used double pop dots under the marshmallow and glued the bottom tip of the handle to the page.

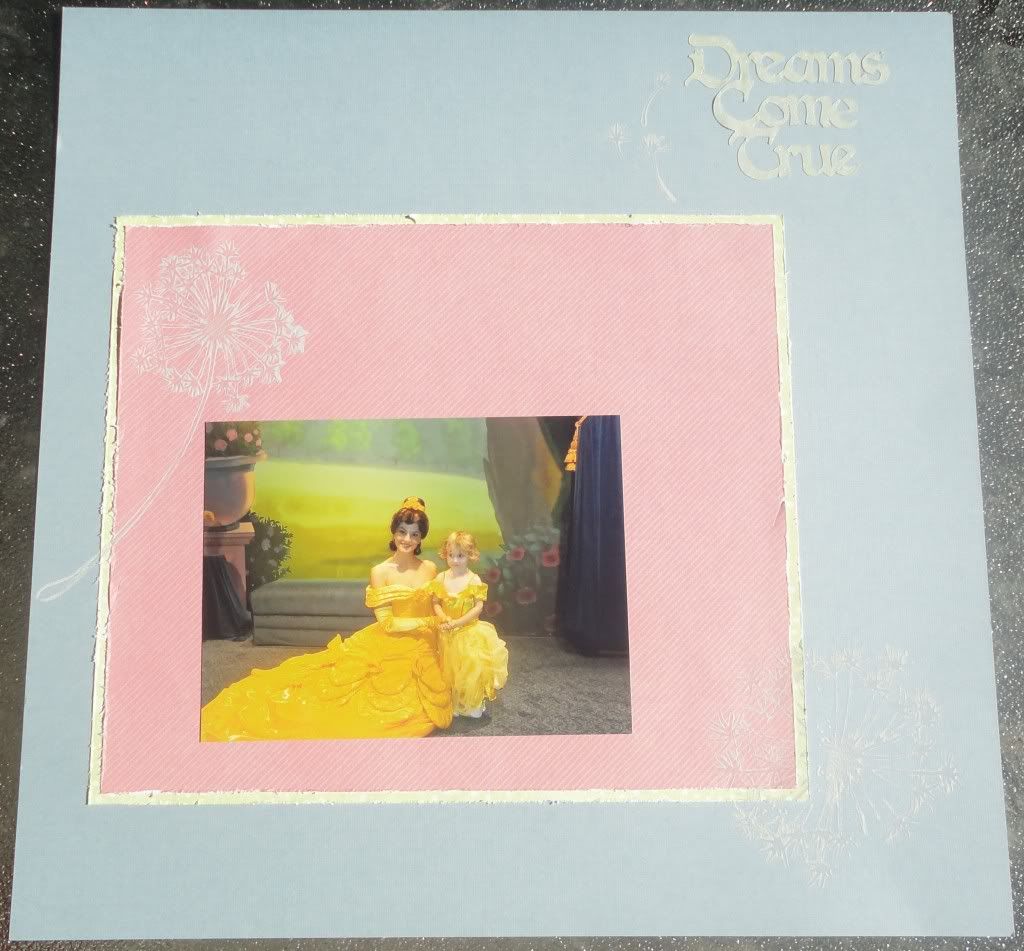
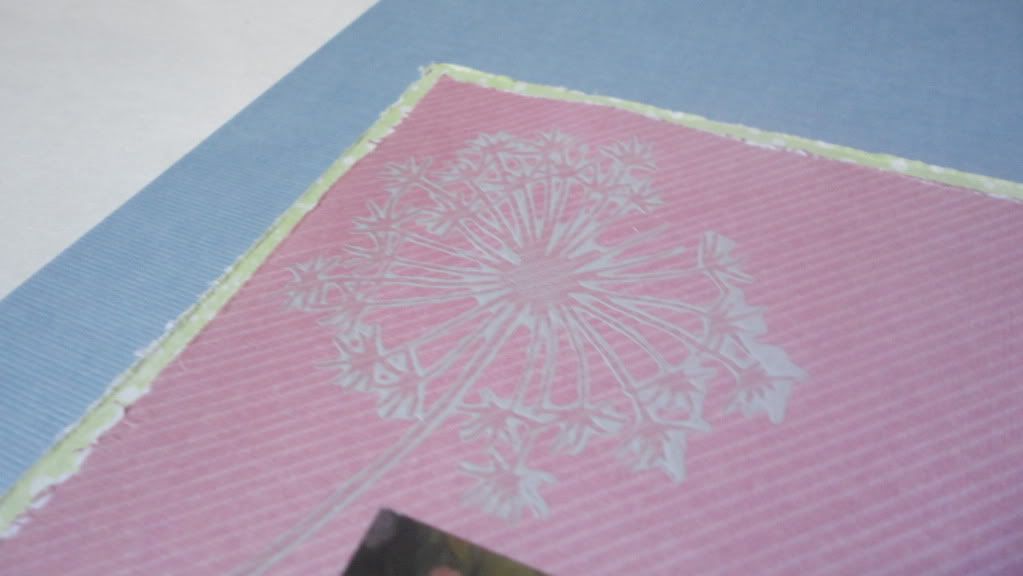
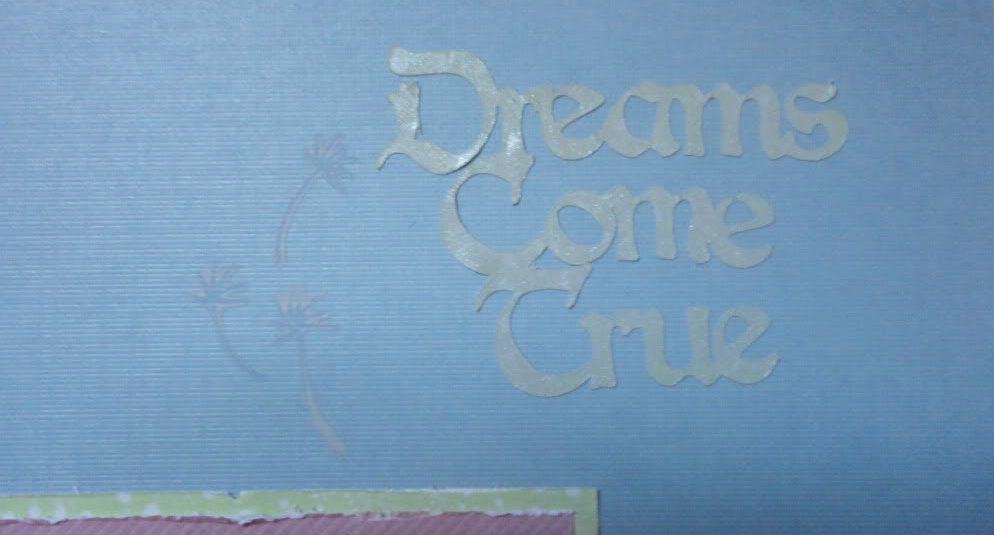
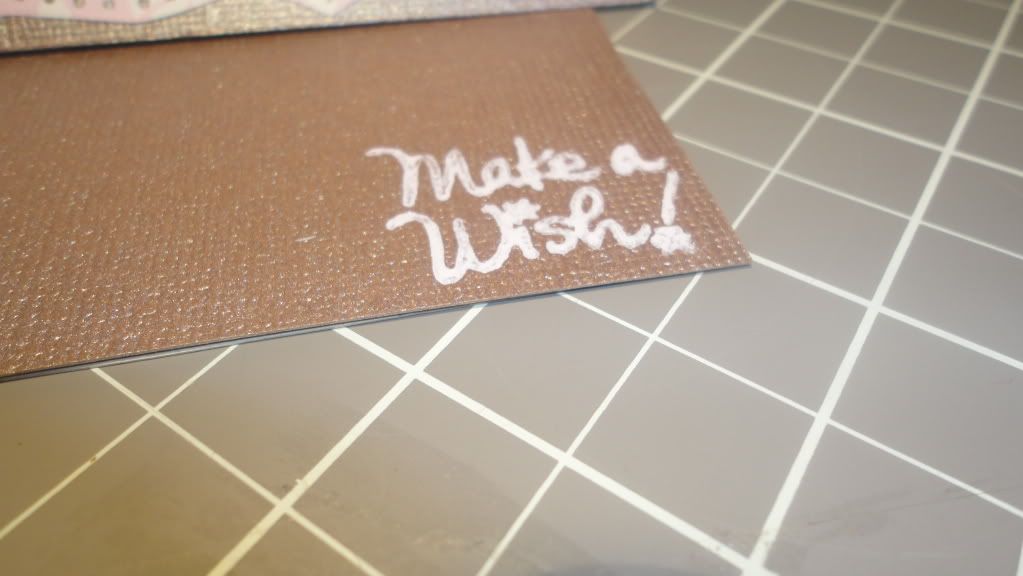
I tore the grass layer for more depth and hand wrote the sentiment. I'm really happy with how this simply cut turned out.


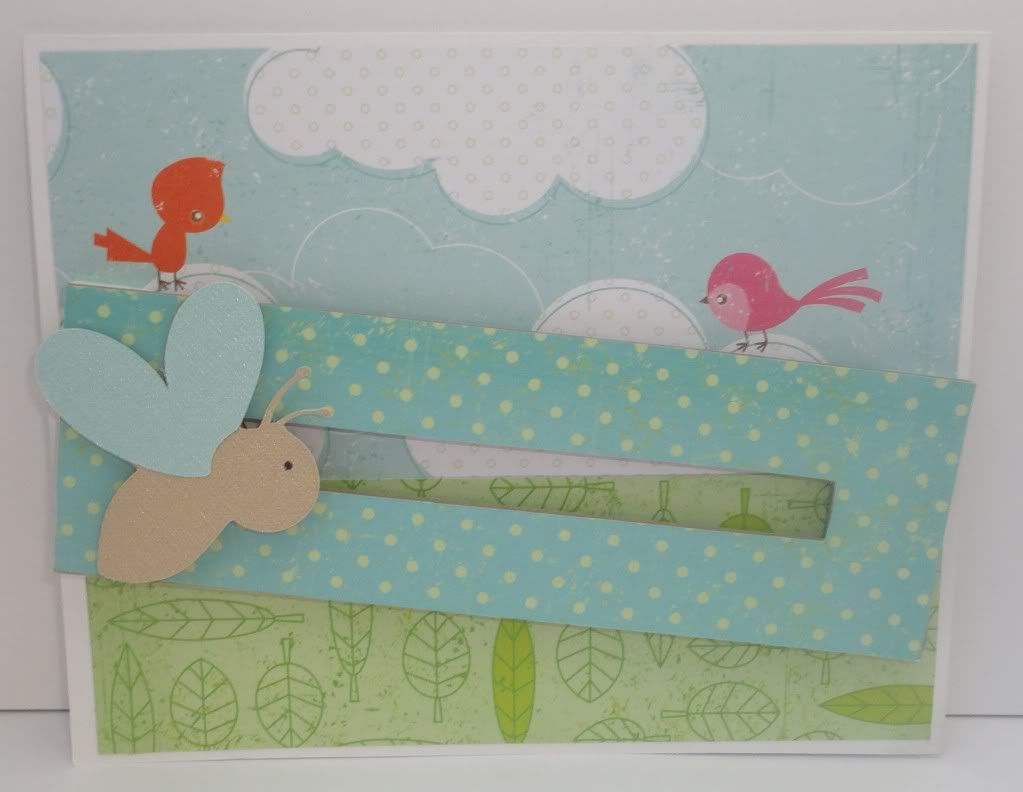
Bazzill Bling (green and blue papers I don't know their names)
Bazzill Basics, Almond Cream
Cardstock, Gold, Red, White
Inkadinkadoo Soft Tones Blending Chalks
Zig Writer, Chocolate
Everyday Paper Dolls, page 40

Monday, August 15, 2011

Little Man Layout

Yesterday was reveal day over at Creative Scrappers and I fell in love with the sketch on the spot. I knew right away that I wanted to use a picture of my little man (he's 15 months and this is the first layout I've done for him, oops!) and the DCWV paper pack that I bought soon after he was born. One of the papers that I love in this stack just happens to have animals on it, plus he's wearing a giraffe sleeper, so I've decided to enter this layout in Frosted Designs animal challenge too.


All of the patterned cardstock is from the DCWV Baby Boy stack
The journaling spot is Bazzill Basics Almond Cream
The title is Making Memories Cheeky Shimmer stickers in green
The turtle is a studded sticker by Imaginisce and is an Archiver's exclusive

Friday, August 12, 2011

Bug Jar Card

This weeks challenge at Fantabulous Cricut is all about bugs!

I knew right away that I wanted to use the jar/branch cut from Doodle Charms. I've had this cartridge for a long time and never really used it. I didn't really like any of the bug cuts on this cartridge so I went browsing through my library and came across a very cute little caterpillar in Pooh and Friends.
The jar/branch are cut at 6". I used textured paper by Bazzill on both. The jar and the leaves also have a shimmer to them.
The caterpillar is cut at 1". His base layer is textured Bazzill paper and his stripes layer is a pattern paper I've had lying around for years.
As you can see I used foam adhesive to pop up the branch, leaves and caterpillar. I used ribbon from Michael's to tie on the tag with the stamped sentiment "What would I do without you". I then took my white and brown pens and did some doodling and highlighting and called it good. I'm really happy with how it turned out!

I'm also linking this project up at Getting Cricky.